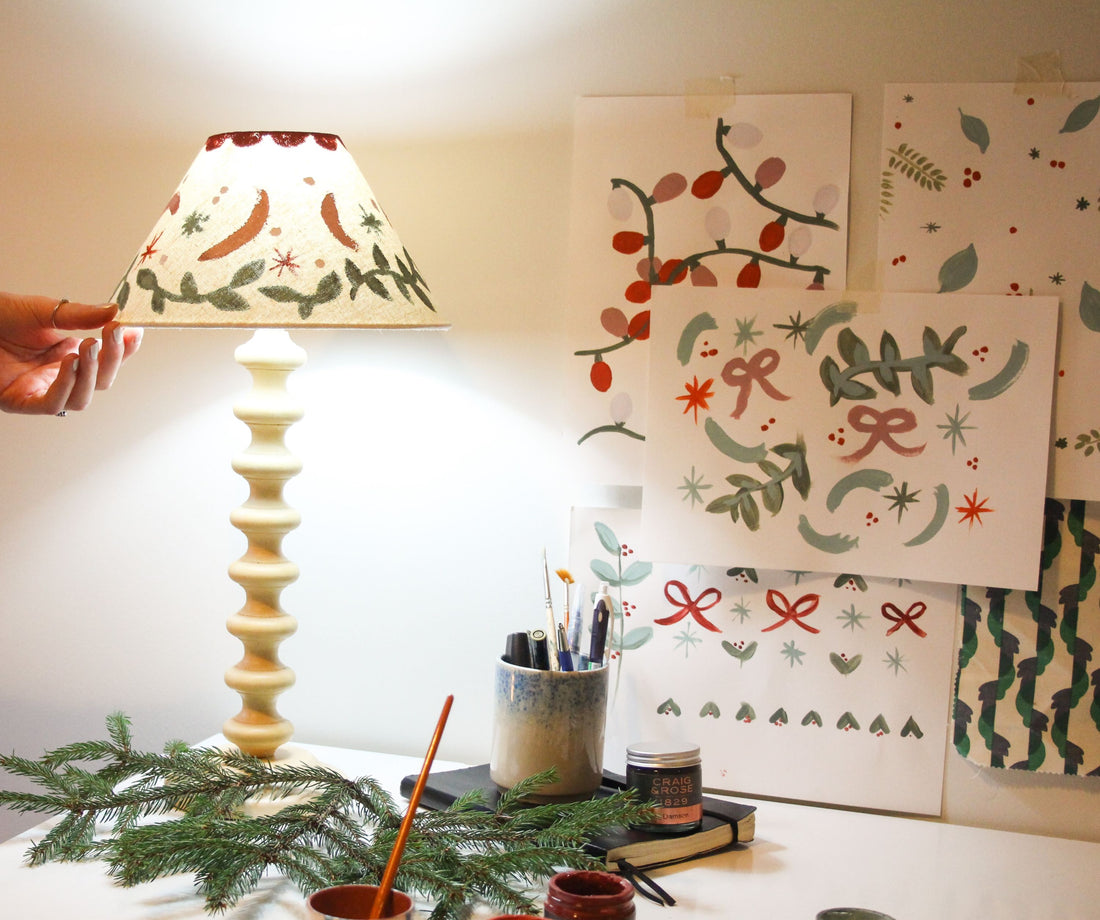
Christmas Craft: How to DIY festive lampshades
Dec '23
GETTING STARTED
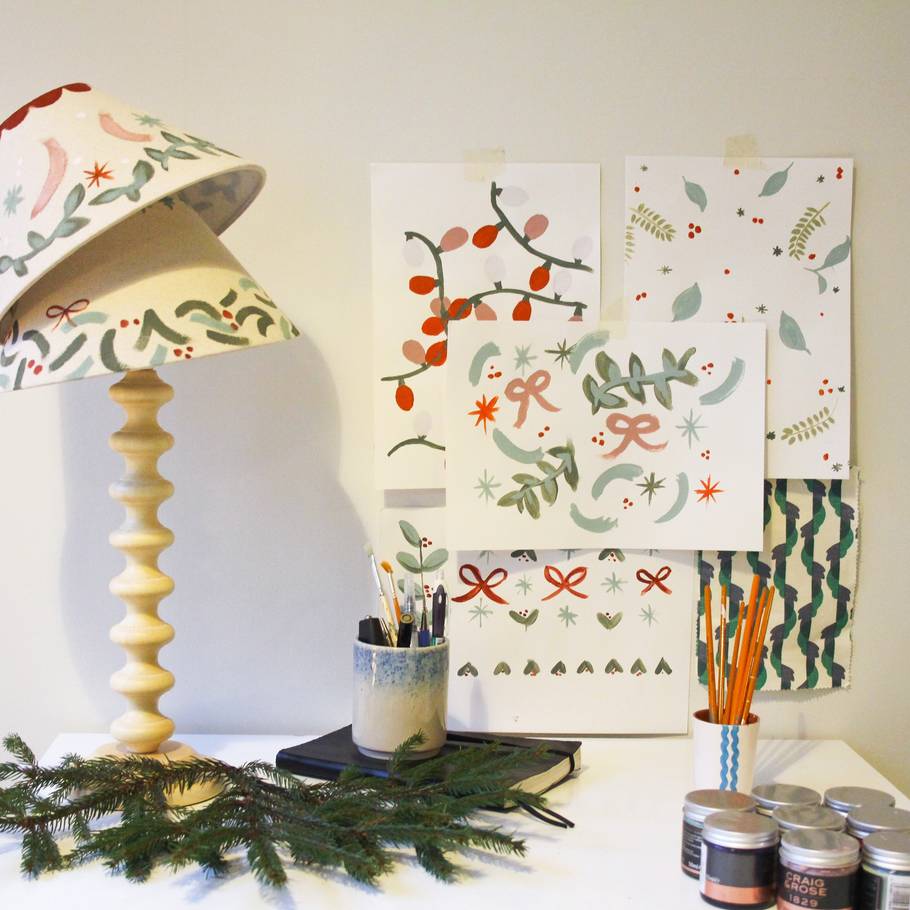
YOU WILL NEED:
-
Fabric Lampshade (new or existing)
-
Craig & Rose Sample Pots
-
Selection of Paint Brushes
-
Pencil
-
Paper
COLOURS USED
GETTING CREATIVE
Step 1: Find Your Inspiration
Start by gathering inspiration for your lampshade design, look at Christmas motifs, foliage, patterns, and colours.
Step 2: Selecting Your Colour Palette
Consider the base colour for your lampshade, the lamp base as well as accent colours or patterns in the room that you may like to incorporate.

Step 3: Practice on a Sheet of Paper
Before you start painting the lampshade, try out different painting techniques and brush strokes on a sheet of paper. This helps you get comfortable with the brushes and paint you will be using.

Step 4: Map Out Your Design
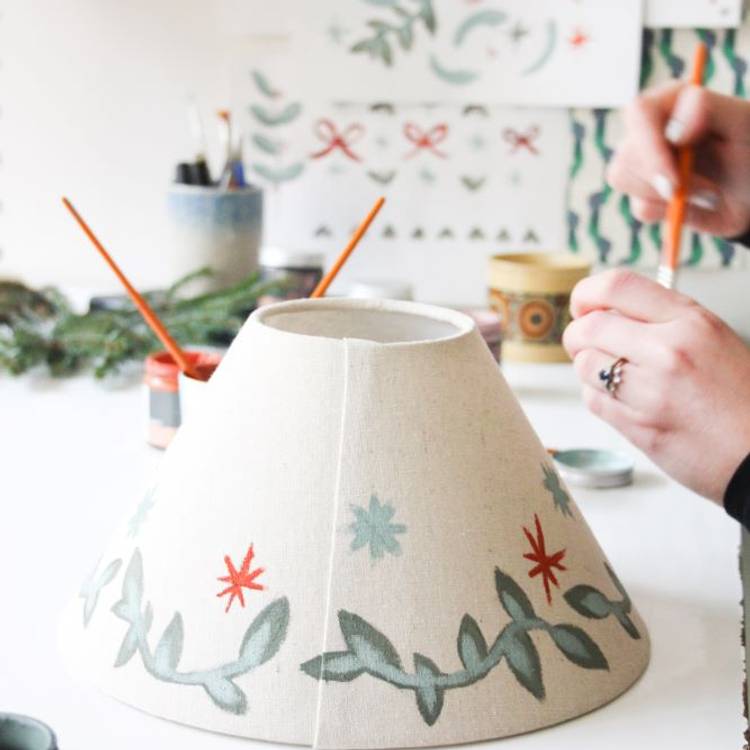
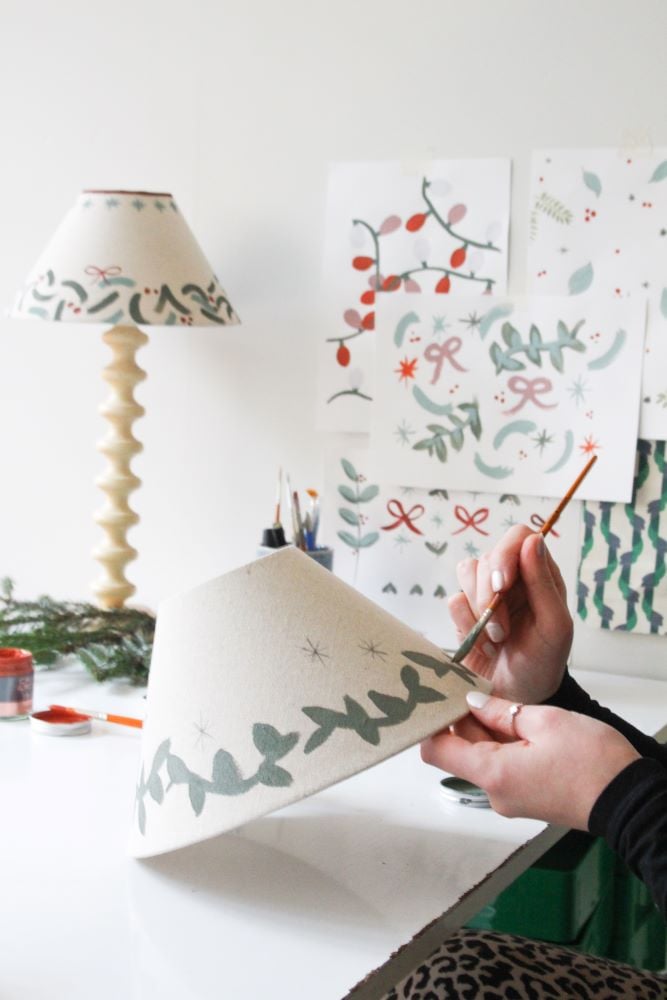
Using a pencil, lightly sketch your design onto the lampshade. You can start with a rough outline and refine it as needed. Consider the placement of your design elements and make sure they are symmetrical if desired.

Step 5: Start Painting
Dilute your chalky emulsion paint with a small amount of water to create a consistency that is easy to work with. Begin painting your design on the lampshade, following the pencil outline. Use a variety of brushes to achieve different textures and effects. Be patient and take your time to ensure a neat and even application. Allow the paint to dry between layers if you want to add depth or shading to your design.
Step 6: Let It Dry, then assemble
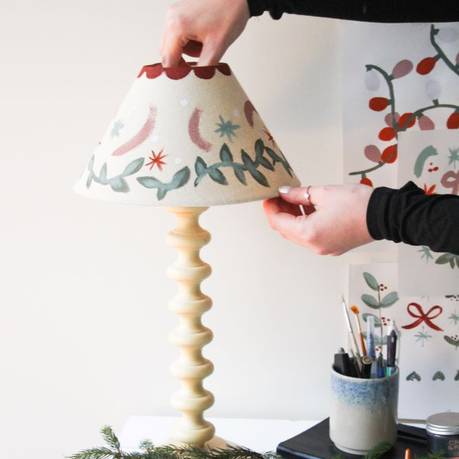
After you have completed your painting, allow the lampshade to dry thoroughly. This may take a few hours or more, depending on the paint and the thickness of the layers. Once it is completely dry, carefully place the lampshade back onto the lamp or fixture it is intended for. Turn on the light and admire your hand-painted lampshade.

Similar stories to explore
- Choosing a selection results in a full page refresh.
- Opens in a new window.
