Painting Perfect Stripes: A Step-by-Step Guide by Craig & Rose
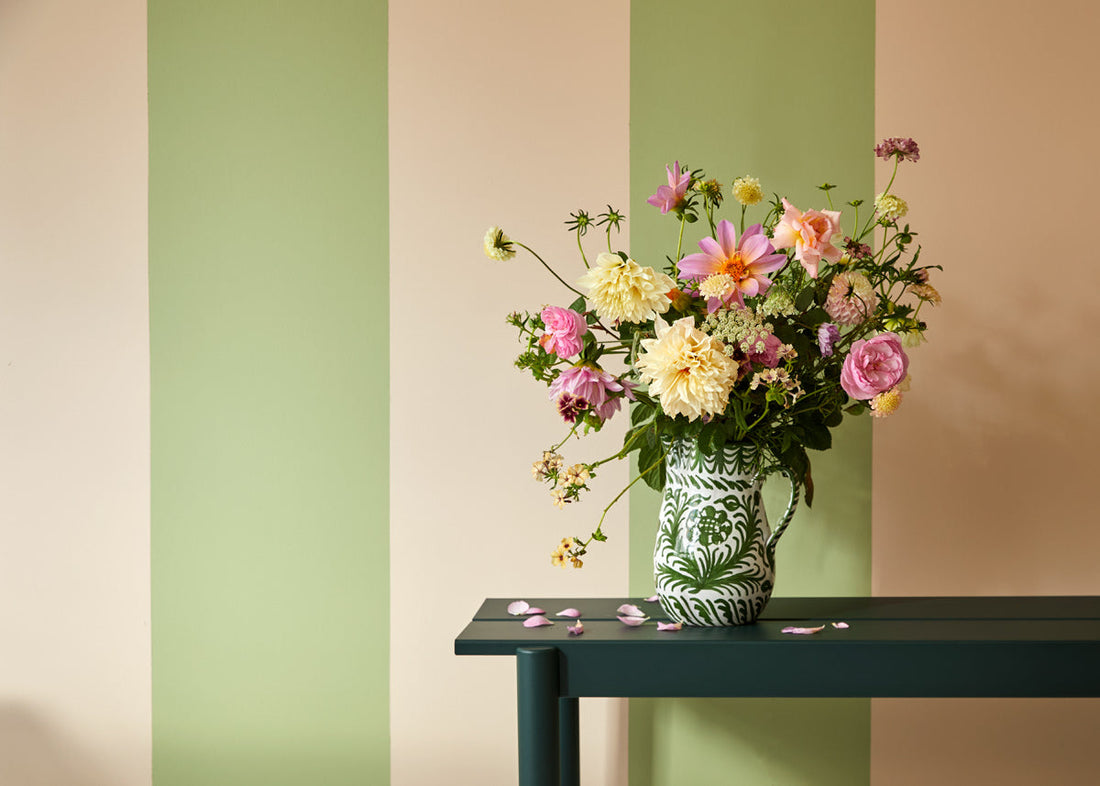
Stripes are a timeless interior design trend that can make a bold statement or add subtle sophistication to your walls. Here’s our easy guide to painting perfect stripes, so you can create stunning feature walls with ease.
Feb '25
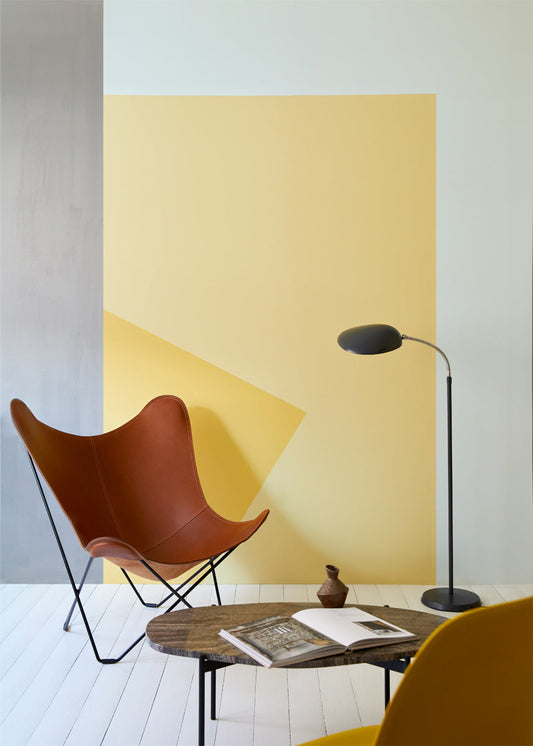
Perfect Stripes
At Craig & Rose, we’re here to help you transform your home with confidence, empowering your creativity and providing everything you need to achieve professional results at home. Stripes are a timeless interior design trend that can make a bold statement or add subtle sophistication to your walls. Here’s our easy guide to painting perfect stripes, so you can create stunning feature walls with ease.

.png?v=1740062785972&transform=cover=1:1/resize=750)
What You'll Need:
- Your chosen paint colours from the Craig & Rose range
- Ball of string
- Chalk
- Tape measure
- Sandpaper
- Scissors
- Dustsheet
- Tin opener
- Decorator’s tape
- Paint stirrer
- Roller and roller tray
Still deciding on the perfect wall paint colour? Try our mess-free Colour Patches to experiment with shades and discover your ideal combination.
Step 1: Prepare Your Wall
Preparation is key to achieving flawless results. Make sure your walls are dust free and clean, fill any holes or cracks and sand rough areas until smooth. Once your wall is fully prepped, apply your background colour to create the perfect base for your stripes. Let the base layer dry completely before moving to the next step.
Step 2: Plan Your Stripe Placement
Decide how wide you want each stripe to be, then measure the wall height for horizontal stripes or the wall width for vertical stripes to calculate how many stripes will fit.
Adjust the stripe width as needed to avoid uneven or awkward edges. Use a measuring tape to mark the start and end points of each stripe. For vertical stripes, mark the top and bottom of the wall; for horizontal stripes, mark the left and right sides.
Step 3: Create Chalk Lines
Rub chalk generously along a piece of string, making sure it’s well coated. Stretch the string tightly across your measured points, securing it with decorator’s tape at the top and bottom of the string. Pull the string back slightly and release it to snap a clean chalk line on the wall. Repeat this process for each stripe, measuring carefully to ensure the widths remain consistent.
Pro tip: Use a spirit level to double-check the alignment of your chalk lines if you want extra precision.
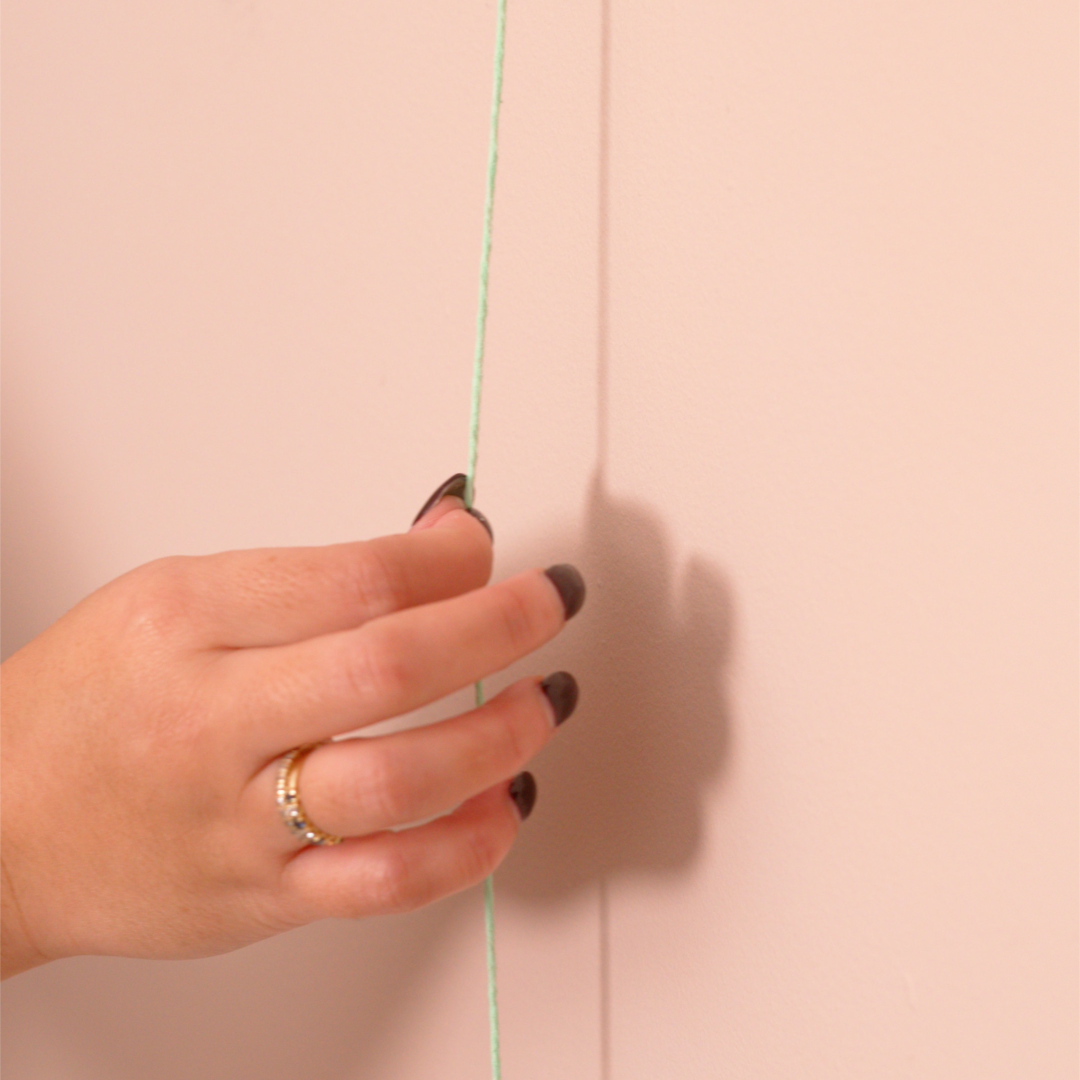
Step 4: Tape for Clean Edges
Apply decorator’s tape along the edge of your chalk lines to frame your stripes.
Pro Tip: Seal the tape with a thin layer of your base colour before applying the stripe colour. This clever hack ensures sharp, crisp edges and avoids unwanted paint bleeds - no one likes a wobbly stripe!
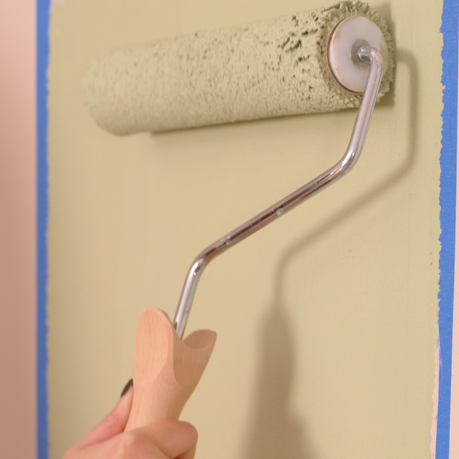
Step 5: Paint Your Stripes Like a Pro
Lightly mist your roller with water before dipping it into the tray. This helps the paint spread smoothly, reduces streaks and ensures even coverage. Apply your stripe colour using a roller.
Step 6: Reveal Your Masterpiece
Once the paint is completely dry, slowly peel back the decorator’s tape to reveal your stunning striped feature wall. Take a step back and admire your work!
Set yourself up for success with the right tools, explore our expertly crafted paint tools here. Then, show off your perfectly painted stripes on Instagram @craigandrosepaints for a chance to be featured on our feed!
.png?v=1740062785972&transform=cover=1:1/resize=622)
-

Tapestry Green
1829 Vintage Collection
-
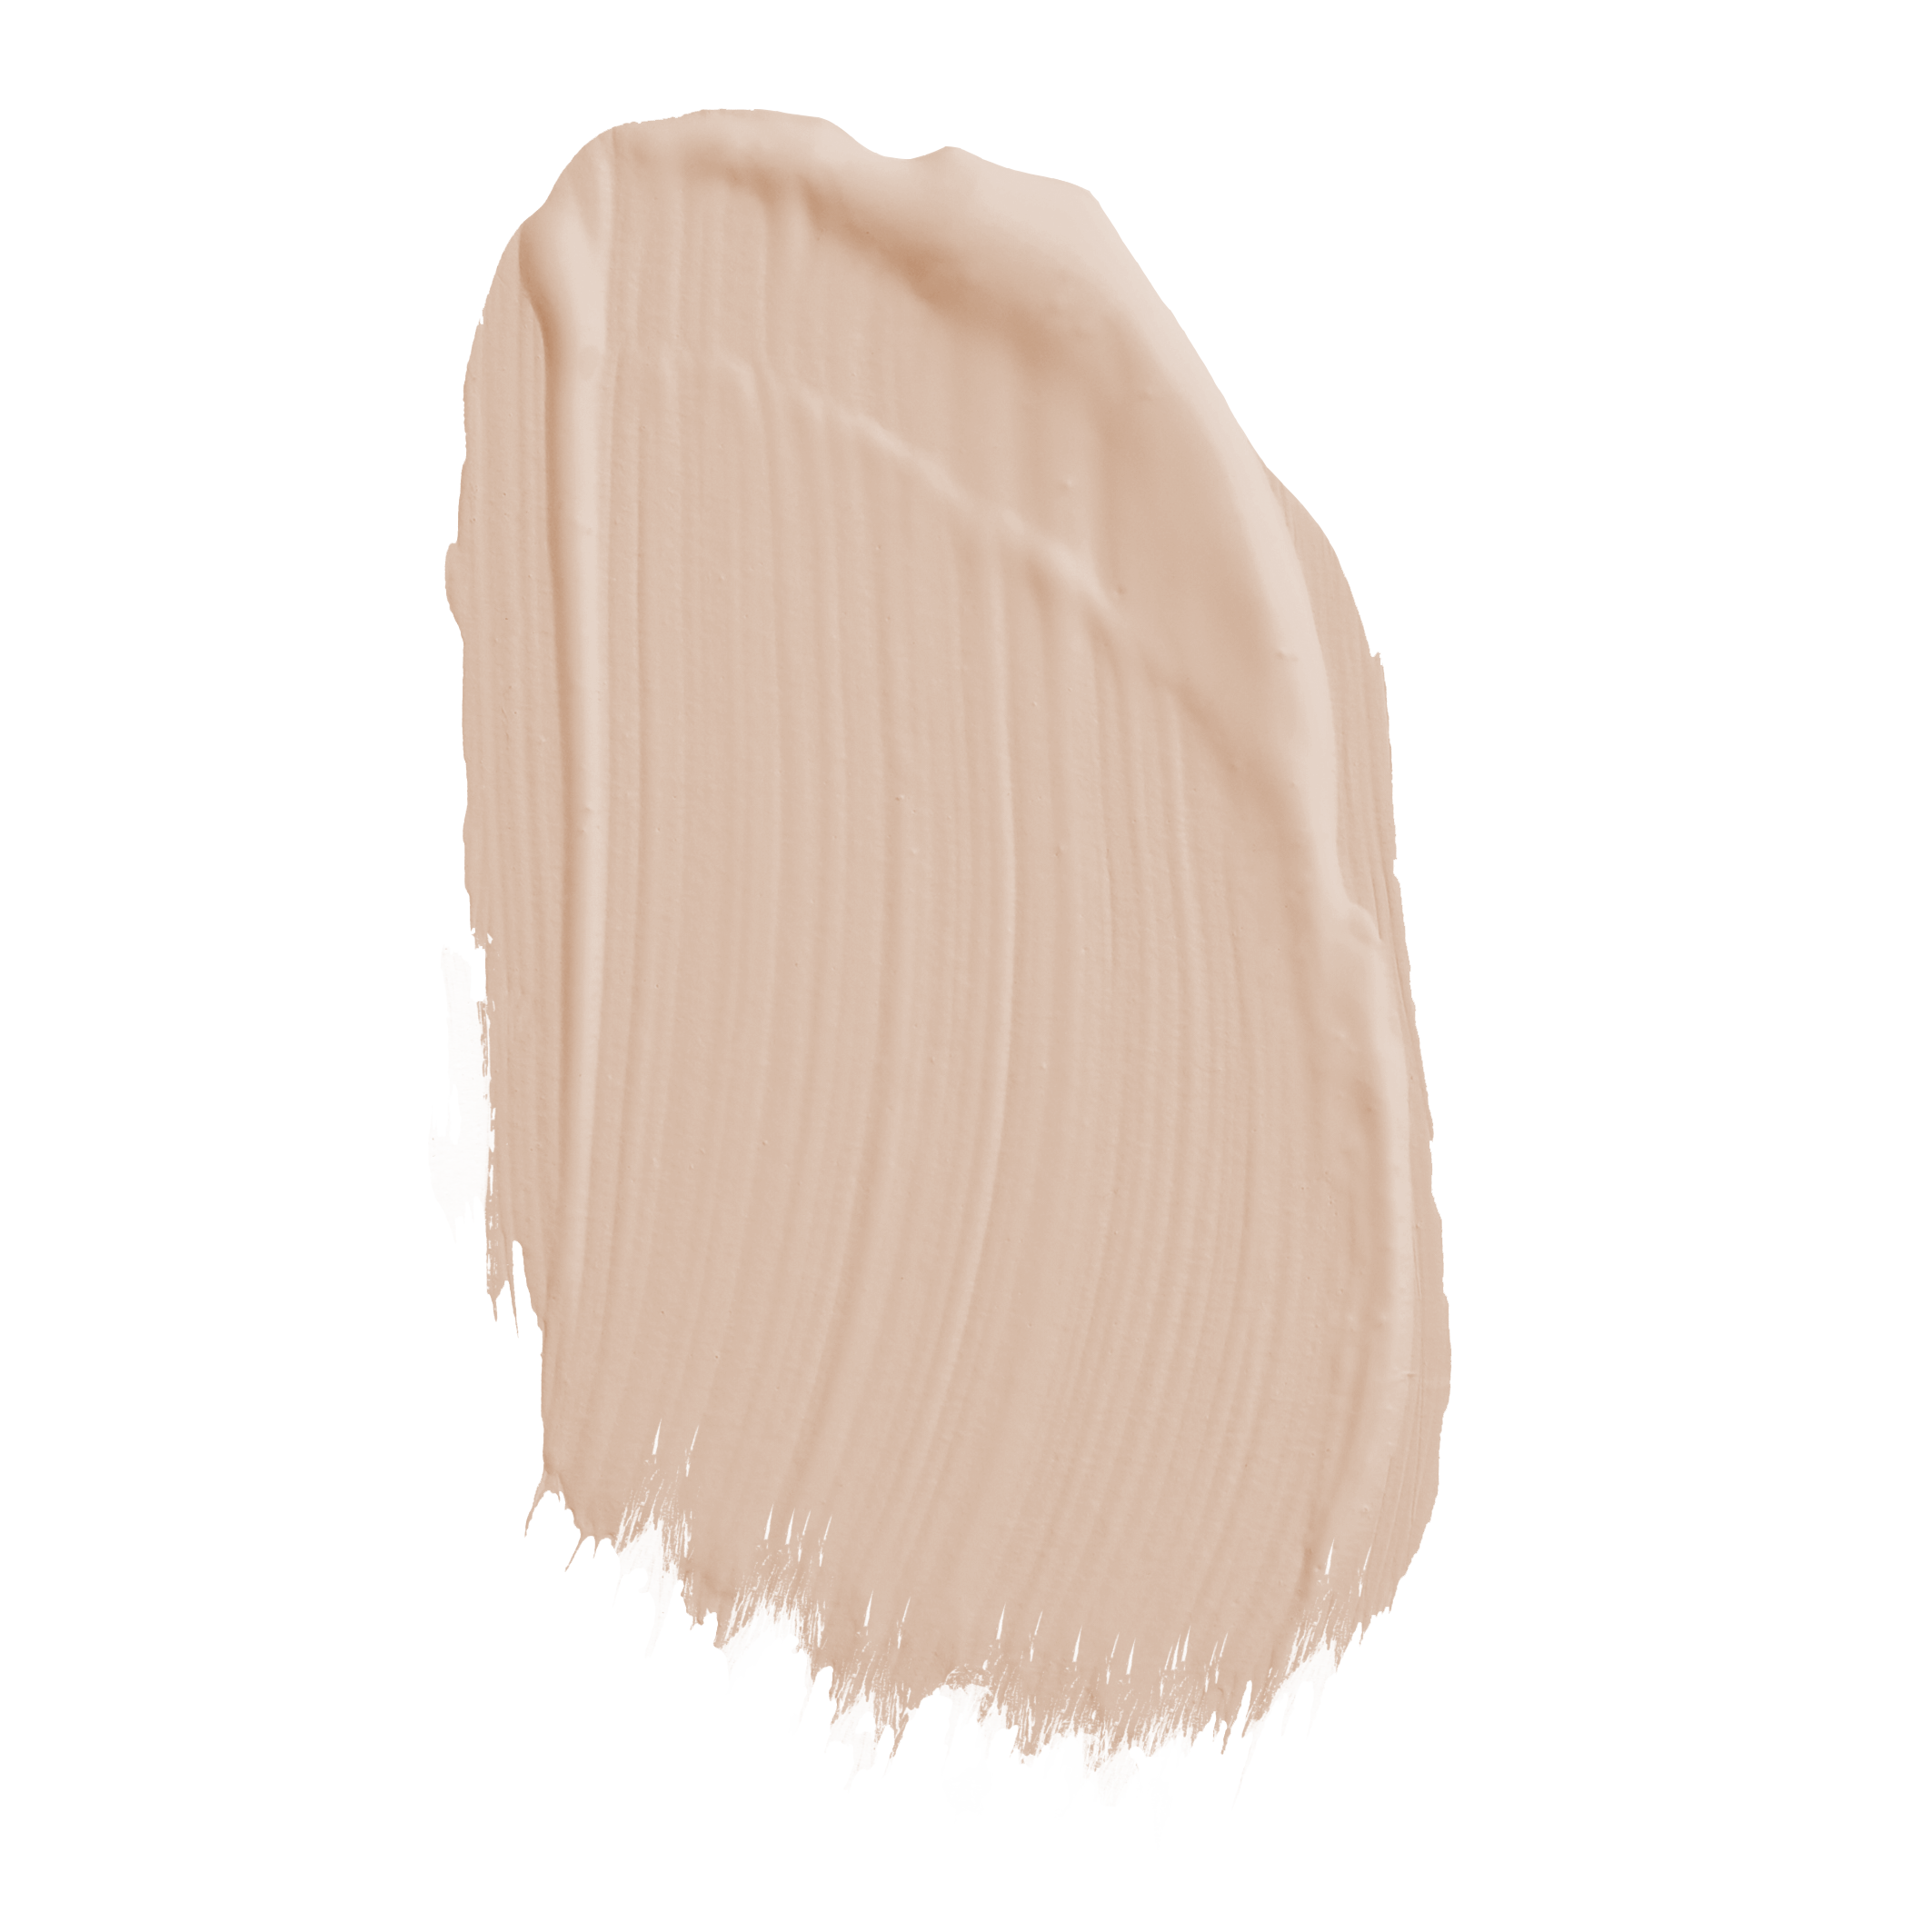
Fresh Plaster
1829 Vintage Collection
-

The Finishing Roller with Frame
Paint Brushes
-

The Paint Tray
Paint Brushes
-

The Stirrer
Paint Brushes
-

The All Rounder
Paint Brushes


Similar stories to explore


- Choosing a selection results in a full page refresh.
- Opens in a new window.